by Eric Meier
The typical smart-aleck response might be: “well, red oak is red, and white oak is white. . .”
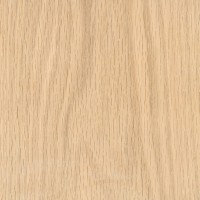
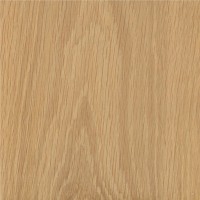
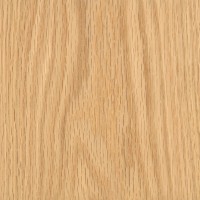
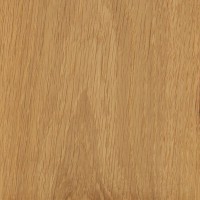
Not so fast. There are all sorts of color variations seen in oak lumber, depending not only on the exact species of oak, but also from the growing conditions from tree to tree. From first glance, just going by color, (especially if the wood has a stain applied to it), it can be difficult to tell the two apart.
So, how do you tell the two apart, and why would you want to?
First I’ll cover a few quick ways to tell the two groups apart, and then I’ll describe the working properties and characteristics of each group. But before we start, let’s take a look at the two groups, and which oaks fall into which groups:
Red Oak Group |
White Oak Group |
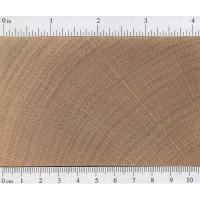
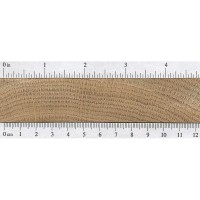
| Red Oak (Quercus rubra) | White Oak (Quercus alba)
Oregon White Oak (Q. garryana) |
While there is one specific wood species (Quercus alba) that is commonly considered the “White Oak,” and there is one specific species (Quercus rubra) that is considered the “Red Oak;” the truth of the matter is, when you buy oak lumber, oftentimes you will not actually be buying these two exact species, but most likely instead you’ll be buying one of the oaks contained within the two broad red and white groupings found in the table above. Basically, you’re buying characteristics found in an oak group, and not necessarily an exact species.
Now that we’ve got a general overview of the species involved, let’s take a look at different ways that will reliably enable you to tell the two groups of oak apart:
1. Look at the Endgrain
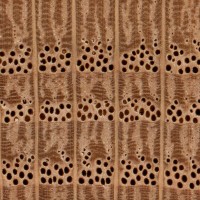
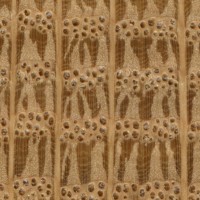
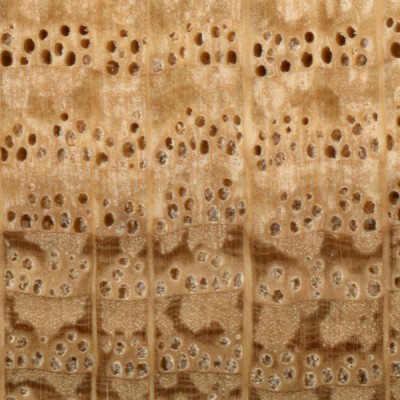
A quick and fairly reliable way to tell the two oaks apart is simply by looking at the endgrain. In order for this to work, the ends of the board can’t be painted, sealed, or rough-sawn. A freshly cut oak board should be easy to distinguish:
The pores found in the growth rings on red oak are very open and porous, and should be easily identifiable. White oak, however, has its pores plugged with tyloses, which help make white oak suitable for water-tight vessels, and give it increased resistance to rot and decay. The presence of tyloses is perhaps the best and most reliable way to distrinuish the two oaks, but it comes with a few caveats:
1.) Make sure that you’ve cleaned up the endgrain enough to see the pores clearly, and blown out any dust from the pores. You don’t want a “false-positive” and mistake sawdust clogged in the pores for tyloses.
2.) Make sure that you’ve viewing a heartwood section of the board in question. While white oak has abundant tyloses in the heartwood, it is frequently lacking in the sapwood section.
One related test regarding porosity is to take a short section of oak and try to blow air through the pores. If you are able to blow anything through it at all, it’s probably red oak. Take a look at this video, where a red oak dowel was used to blow bubbles in a glass of water:
One exception to this rule is Chestnut Oak, which is still considered to be in the white oak group, even though its pores are large and open like red oaks.
2. Look at the Rays
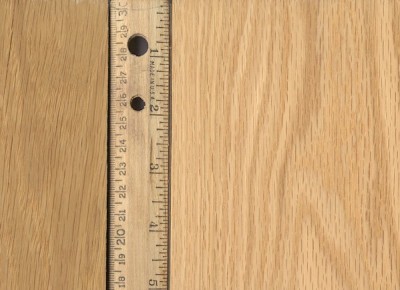
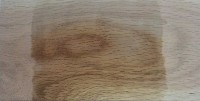
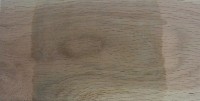
When looking at the face of the board, especially in the flat-sawn areas, you may notice little dark brown streaks running with the grain, sometimes referred to as rays.
Look closely at the picture above, (click on it to enlarge it if you have to), and note the length of the rays in both types of wood. Red oak will almost always have very short rays, usually between 1/8″ to 1/2″ long, rarely ever more than 3/4″ to 1″ in length. (Pictured above on the right.)
White oak, on the other hand, will have much longer rays, frequently exceeding 3/4″ on most boards. (Pictured above on the left.)
This method is probably the most reliable under normal circumstances, and is useful in situations where the wood is in a finished product where the endgrain is not exposed.
3. Use Sodium Nitrite
This technique is sometimes used at sawmills if various logs need to be sorted out quickly. Instead of taking the time to analyze each log closely by hand, a 10% solution of sodium nitrite (NaNO2) is sprayed or brushed onto the wood and observed. If it’s red oak, there will only be a small color change, making the wood only slightly darker. But if it’s white oak, there will be a noticeable color change in as little as five minutes, (though it can take longer if the wood is dry, or if the temperature is low). The heartwood of white oak will eventually change to a dark indigo to almost black.
This method is extremely accurate and reliable, though in most instances, it’s probably overkill. However, if you’re ever in a situation where you can’t separate between red and white oak based on anatomy, this method is nearly foolproof. (Though, only the heartwood will bring about the color change, not the sapwood.)
First, you have to obtain some sodium nitrite (NaNO2). You may be able to find some locally through chemical supply stores, but they typically only sell in bulk quantities, making such a small project prohibitively expensive. However, some online retailers have the chemical for sale in much smaller quantities, bringing it into reach of most that are curious about oak identification. (See links below for current eBay sales.)
Next, you need to mix up a roughly 10% solution of sodium nitrite by weight. This ratio actually isn’t as critical as it seems: solutions as small as 1% and as high as 20% have all been used with success, but to err on the side of caution, we’ll use the most appropriate quantity recommended.
Recipe for 10% Sodium Nitrite Solution for Testing Oaks:
1 cup water
4 teaspoons sodium nitrite
Directions: Stir in sodium nitrite until clear. Clearly label solution to avoid confusion; sodium nitrite is very dangerous if ingested.
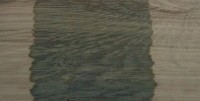
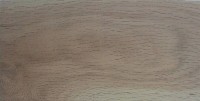
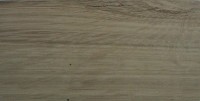
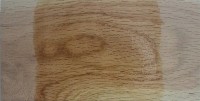
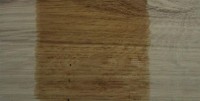
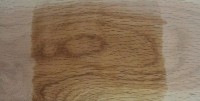
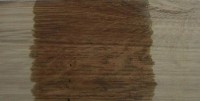
All that’s left is to simply brush this solution onto a raw wood surface and wait for a reaction. With dried wood stored at room temperature, this reaction should take about 10 minutes. Red oak will be only slightly discolored by the solution, sometimes developing a slightly greenish hue, while white oak will gradually turn a dark reddish brown, eventually turning a deep indigo to nearly black.
See the progression photos below for a better look. (Also note that around the 8 and 15 minute marks the water begins to evaporate from the surface of the wood, but the color is still present after the wood has dried, as indicative of the 25 minute photos.)
TimeElapsed |
Red Oak |
White Oak |
| raw | ||
| 1 minute | ||
| 5 minutes | ||
| 8 minutes | 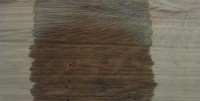 |
|
| 15 minutes | 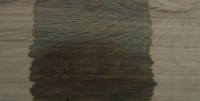 |
|
| 25 minutes | 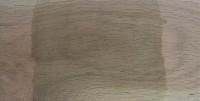 |
 |
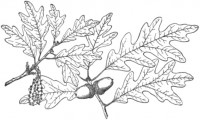
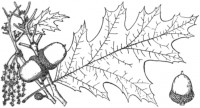
4. Look at the Leaves
This option is obviously only available if you have access to the leaves of the living tree. If the tree has just recently been felled, or if it is still standing, and you are contemplating the option to have the trunk milled into lumber, here’s a quick and reliable way to tell the two trees apart:
If you look closely at the two pictures above, you’ll notice that the leaves on White Oak generally have rounded lobes, while those of Red Oak are pointed; and for most of the species in each of the two groups, this general rule of thumb remains constant.
The Characteristics of Red Oak versus White Oak
As to the reasons why you’d want to be able to distinguish between the two, most of the answers have been explained above, but I’ll recap:
- White oak is much more resistant to rot, and is suitable for water-holding applications, boat-building, outdoor furniture, etc.
- Red oak should only be used for interior pieces such as cabinets, indoor furniture, etc.
- White oak tends to be more dense, while red oak is a bit lighter and has a more porous and open grain.
- White oak is usually slightly more expensive than red oak.


June 16th, 2012 at 5:28 am
An alternative to the Sodium Nitrate solution is to drop some of that steel wool you’ve undoubtedly got in the shop in to some vinegar, let it sit for a while, then you can wipe that on white oak and you’ll have your black. It reacts with the tannin in the wood pretty darn quickly so you may not even have to wait a minute to see results. The ingredients are also a fair bit easier to get and quite safe.
The attached image shows what to expect after a minute on a dressed surface. You can see it happen before your eyes and even quicker on endgrain.
June 24th, 2012 at 12:41 pm
Thanks for all that good info. I am a woodturner(11yrs) & harvest most all of my owwn wood. Additionally I have noticed that some Reds may have a rounded looking lobe but will have a needle point on the tip of the leaf.